Inserting Jersey Necklines
Sometimes those tricky little neckbands get us don’t they.
Here’s some tips to get a smooth and professional finish.
Test the neckband measurement against the models head.
Its always worth measuring your models head. Children’s heads are notably bigger in proportion to their bodies compared to adults.
Cut out your neckline pattern piece in your chosen cloth and test it over the models head.
If it fits nicely then great! But with so many variable stretchy fabrics on the market it can sometimes come up tight. See below for how best to fix this.
Lengthen the band if it feels too tight:
Generally, this can be between 1-4cm depending on how much your fabric stretches. Don’t be tempted to go too big, only enough the get the headband over the head snugly. Test this again on the model and the garment neckline before inserting.
Testing the Neckline on your garment:
This method is great for testing the fabrics together, giving you the confidence to sew it on.
It’s also great if your neckband is coming up big.
Take the neckline piece (pressed into half as above.) Align the Seam allowance point of the neckline with the Center Front of the garment and pin to hold.
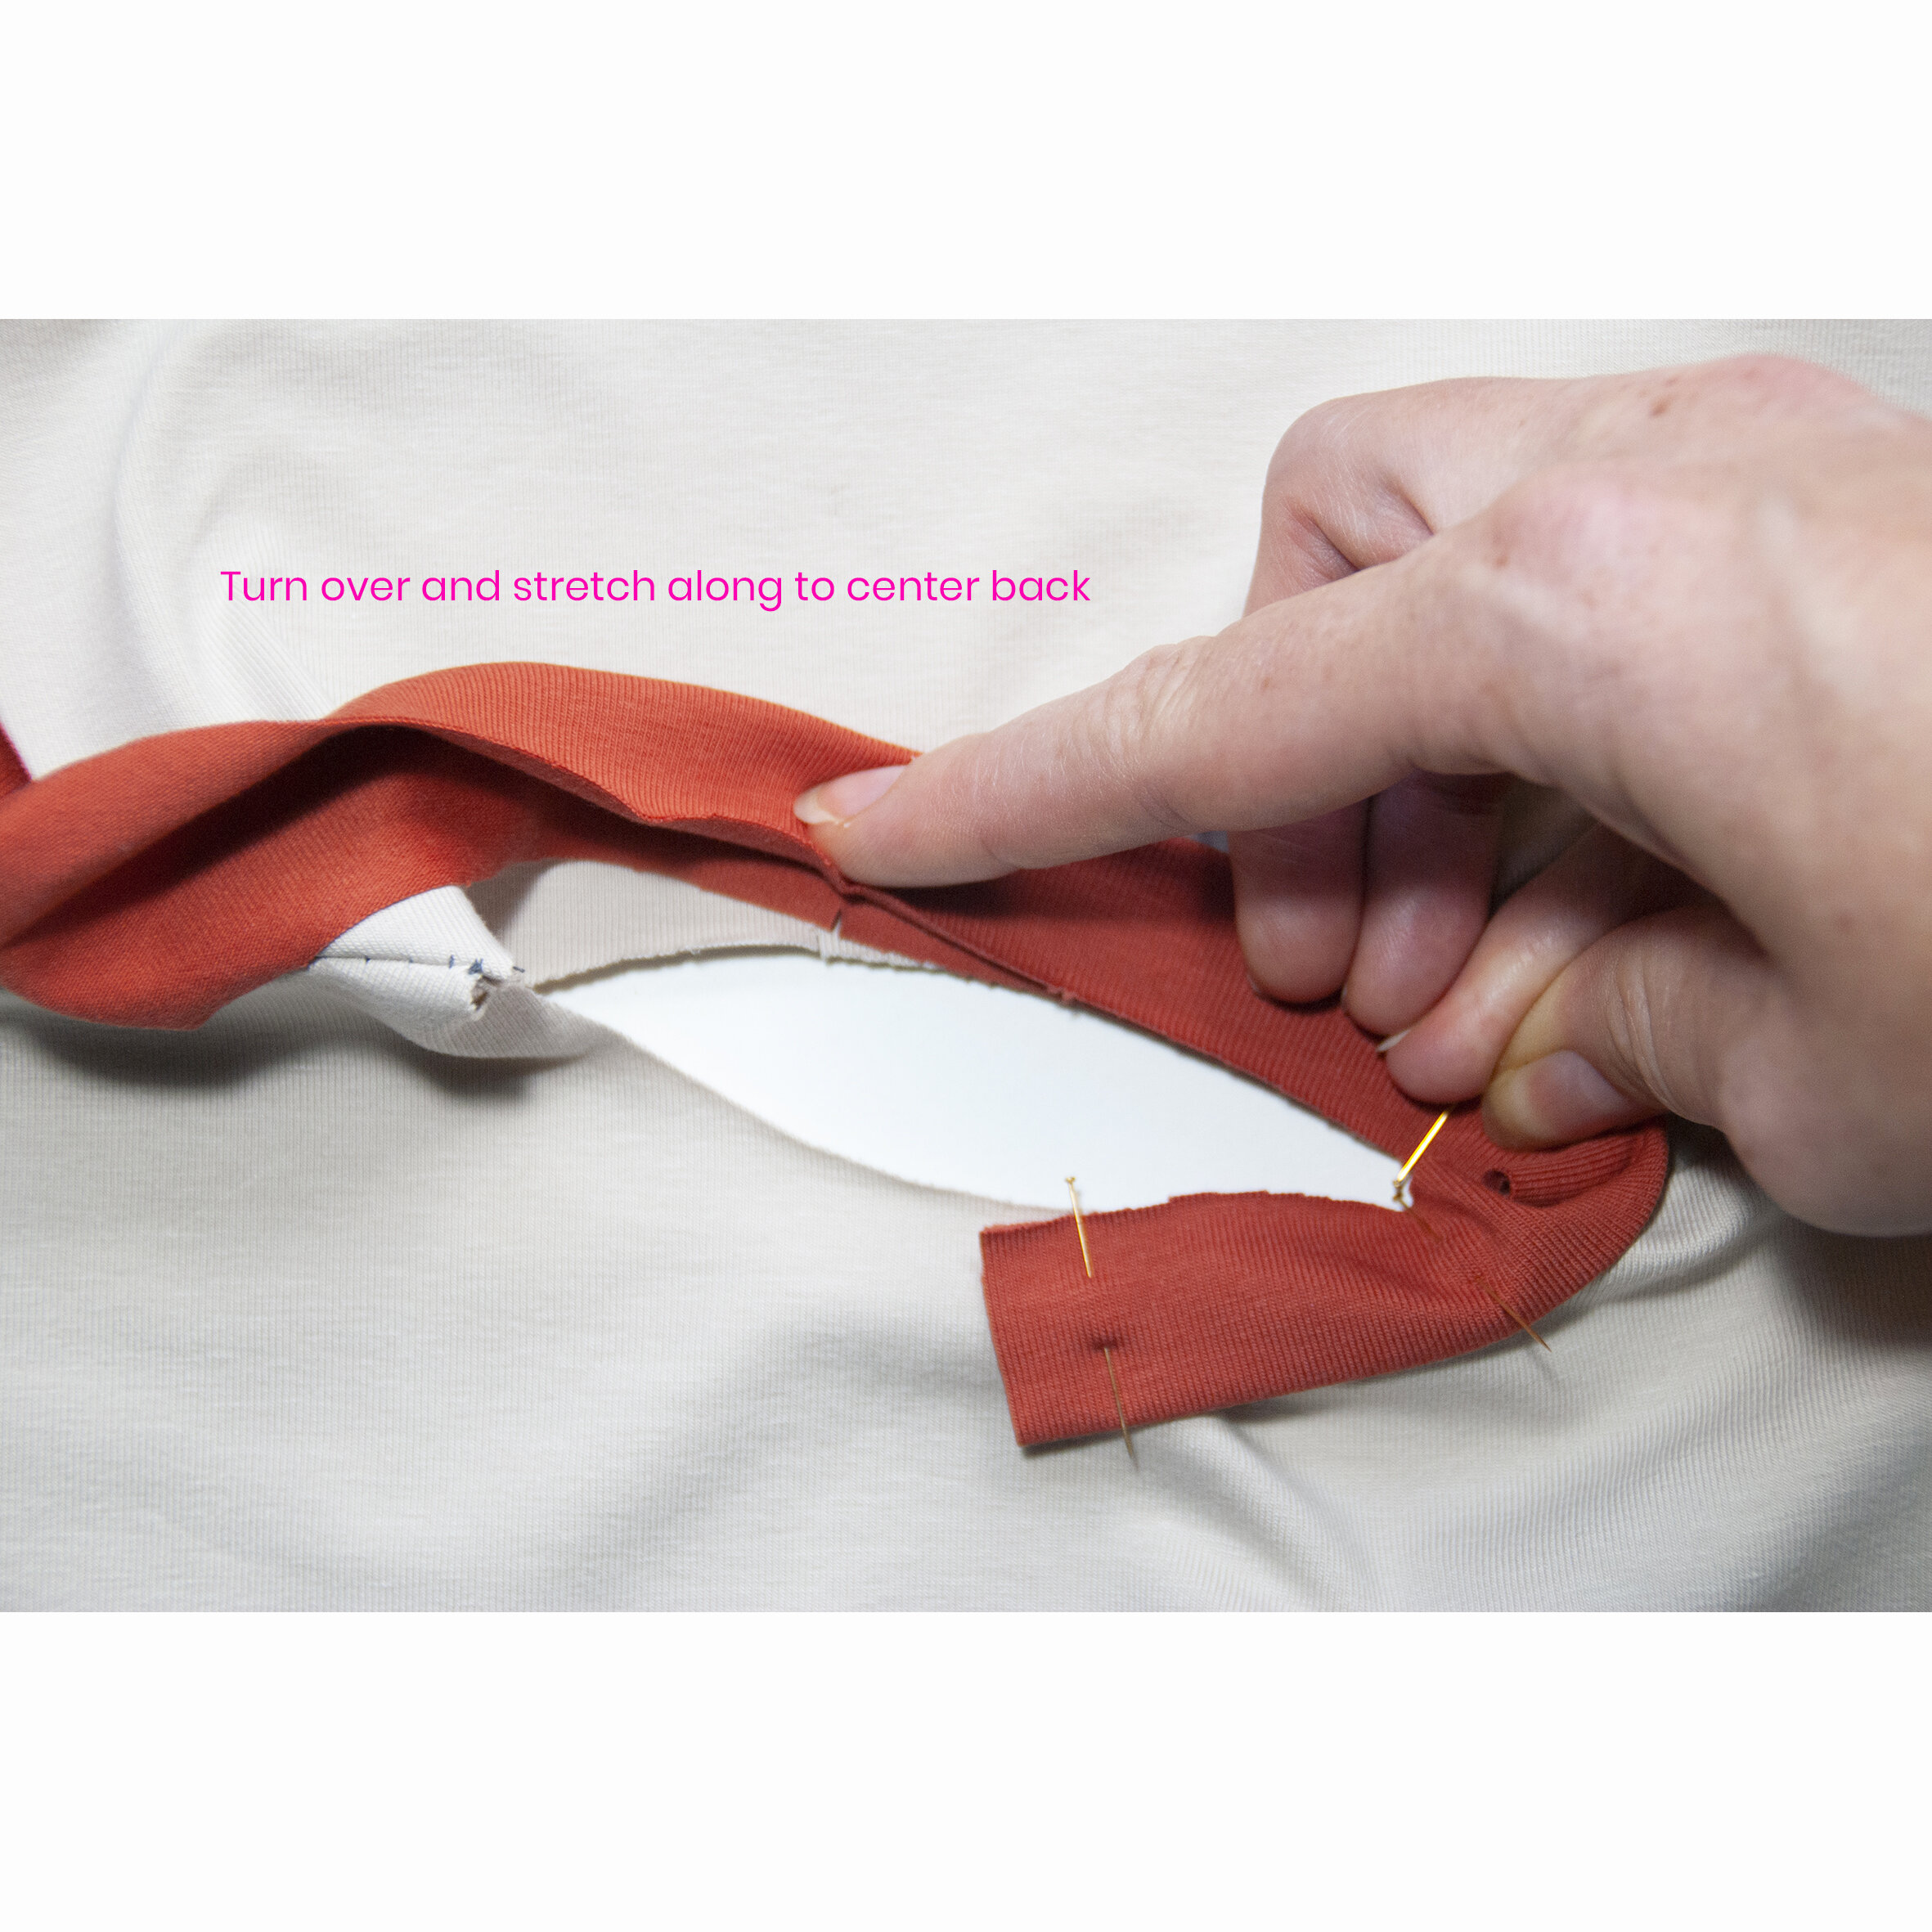
Work your way around the neckline up to the should seam, by pulling the neckband gently to stretch it out so it wants to spring back.
Take it around to the back of the neckline, and along to the Center Back.
Once done, you can check the length of the amount you’ve use. Then double the measurement, and then cut away any excess.


Inserting your neckline:
So it can be fiddly, but once you’ve got the hang of it you’ll be surprised how quickly you can get
these looking perfect.
Make sure notches or marks are added to the neckband and neck opening highlighting the Center Back points, 1/2 way point (I.e. Center Front) and 1/4 points around the circumference. (NB: This isn’t always the side seam as some patterns have lower front necklines to back or raglan sleeves. The best thing to do it fold the neckline in half and notch/mark the mid-way point.)
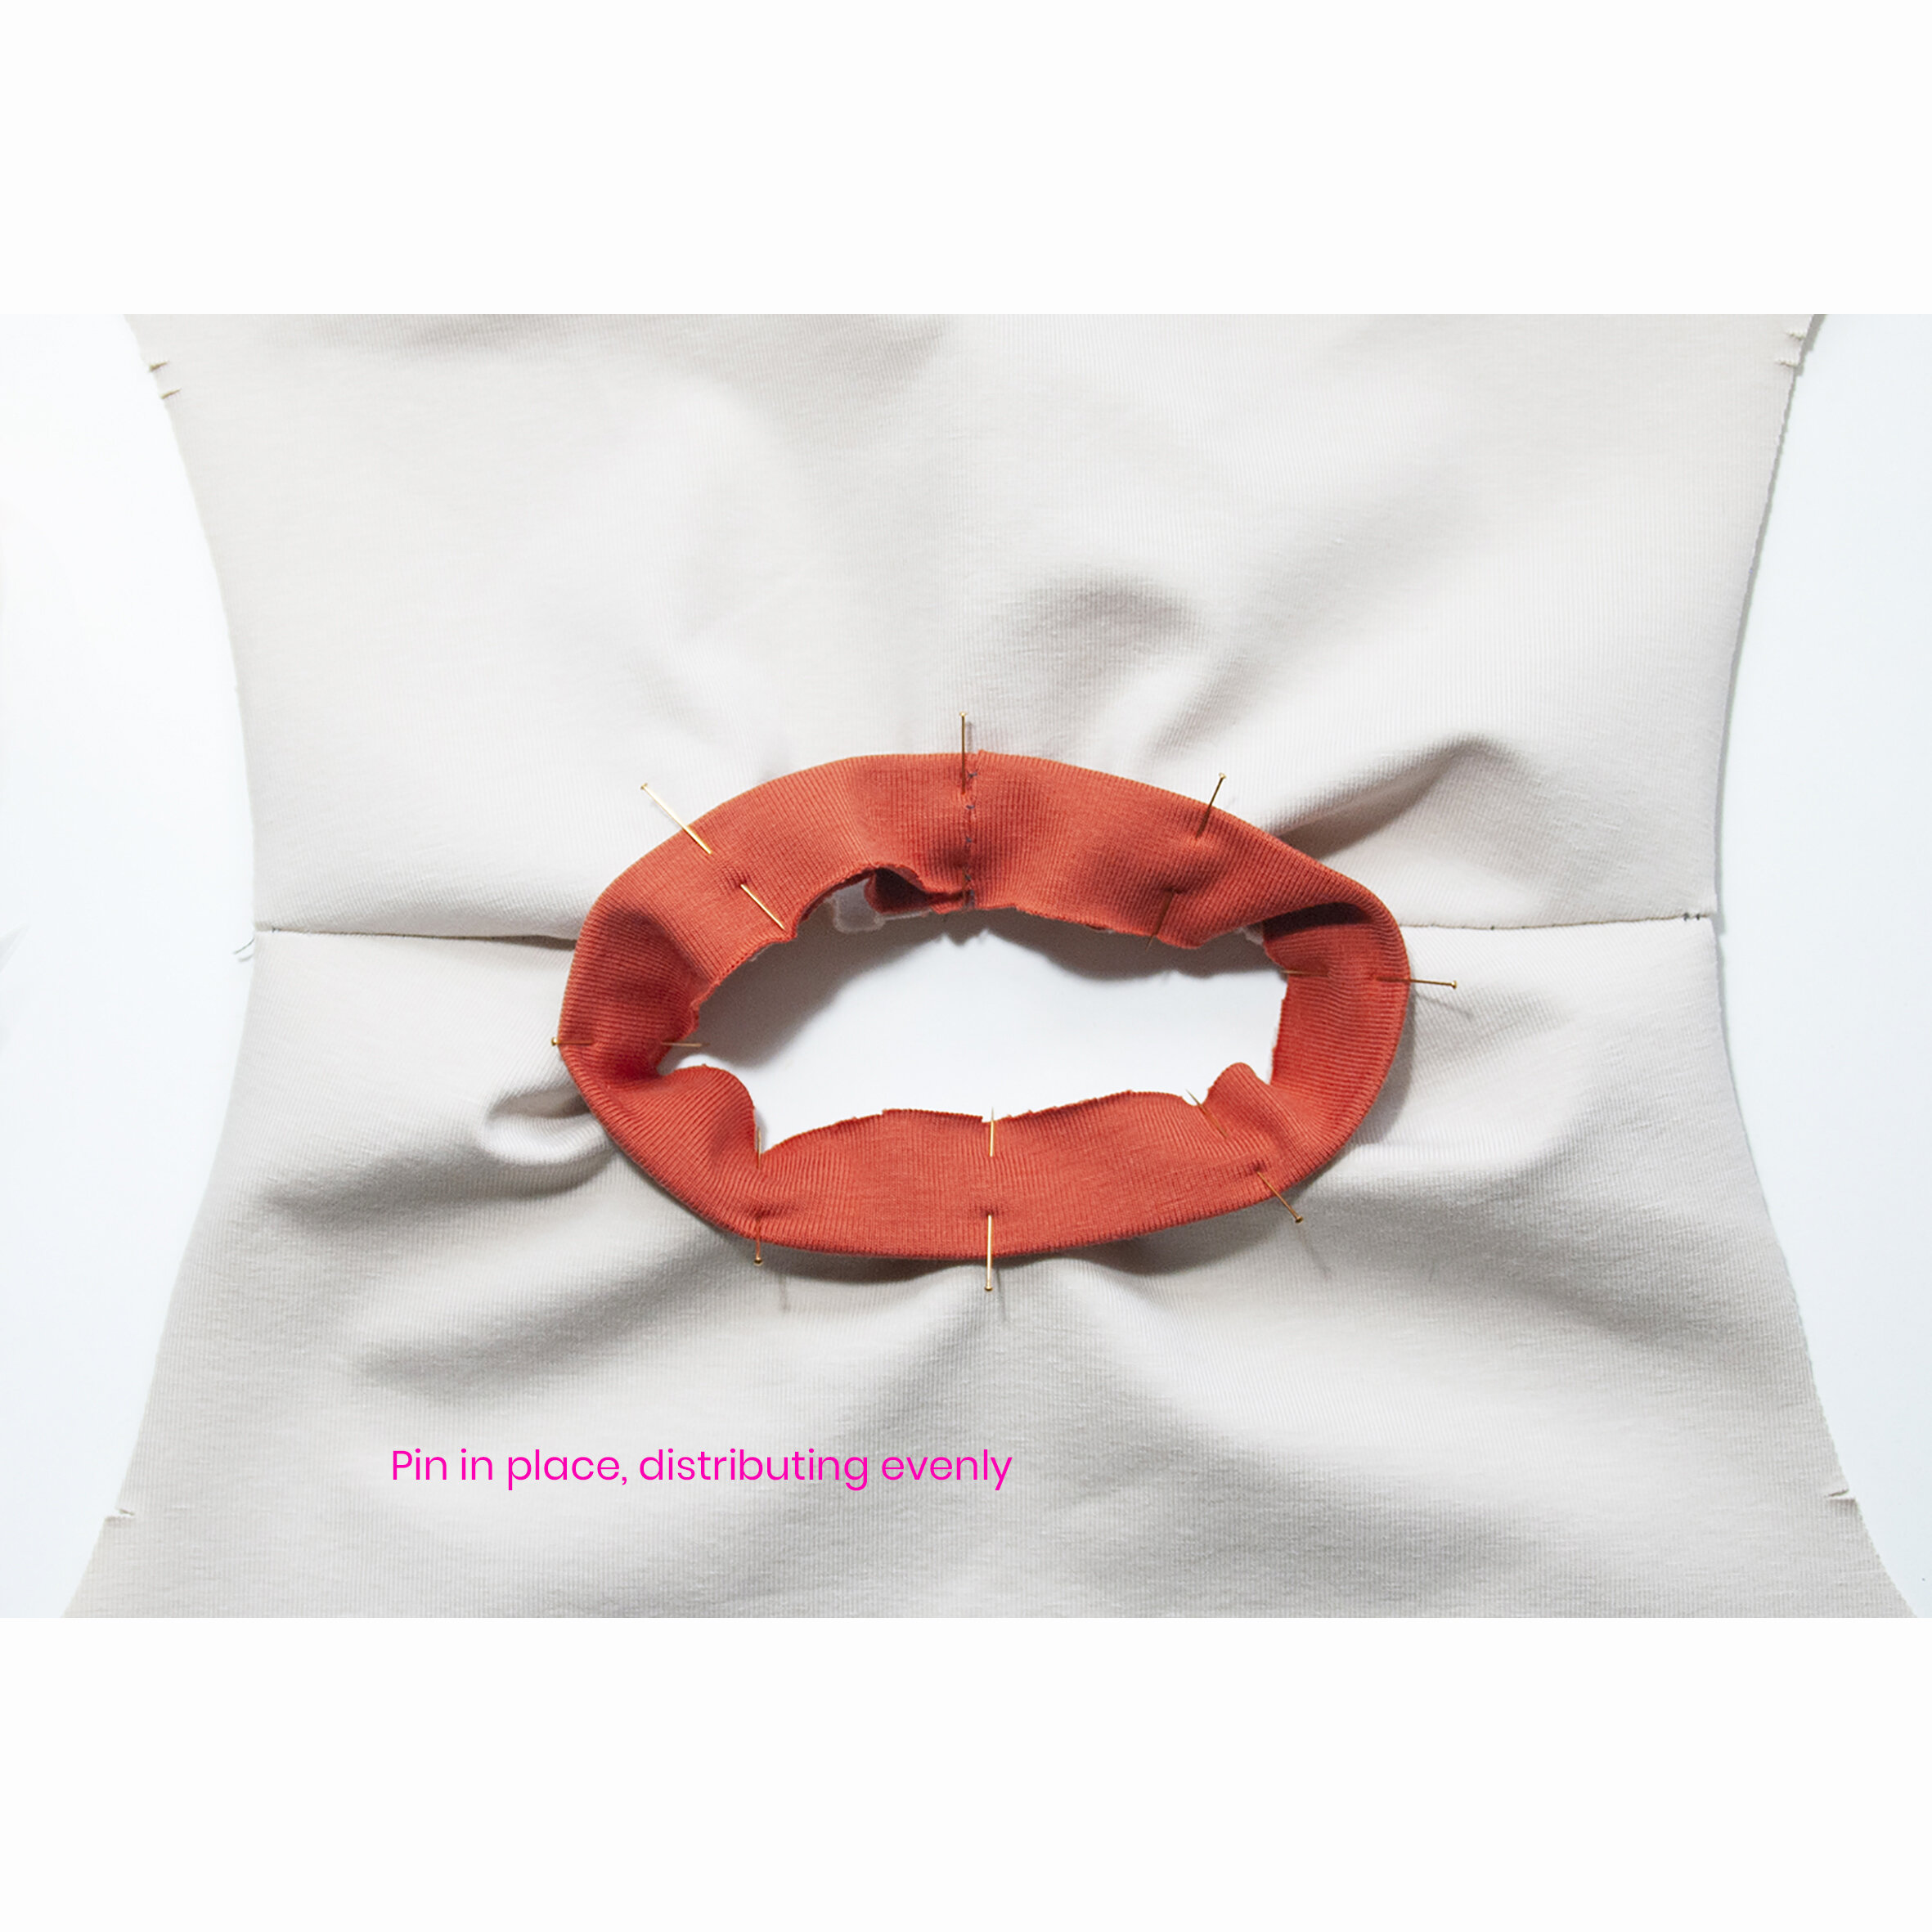
Take your time. Gentle easing the fabrics, and checking they are still aligned correctly as you work your way around.
Pin the Center Back seams together and stretch the binding out so that you can pin the Center Front of the garment opening and binding together equally. (NB: Do not pin as you work your way around the neck as the binding is a smaller circumference than the garment circumference. Gently stitch your way around the neck, removing one pin at a time and holding the smaller length (the binding) taut so each piece comes together equally.)


Sew into place, removing the pins as you slowly and gently work your way around.
Expect bumps and puckering!
Trim away the excess Seam allowance (unless using a overlocker/serger).


Pressing your neckline:
Pressing is as important as the getting sewing positions right. It can make or break the finish of a garment!
Always check the iron guidance on the fabric you have bought, the last thing you want to do now is burn your fabric and ruin all your hard work. You can use a pressing cloth or scrap fabric to lie in top and protect your garment if worried.
Press the seams downwards into the main garment. Gentle encourage the neckband to sit flat by lightly pressing to on both the front and the back. As it gets flatter it will become easier!
A sleeve board attachment or ham can be handy for smaller kids garments, giving you more space to avoid pressing the armholes by accident.


And there you have it. If you’ve still got puckering and tucks, keep going with the gentle pressing.

Lastly, if it all gets too tricky, consider Rib:
This is a dream to work with. Great stretch and recovery to original size. And great for a contrast detailing. Due to the way rib is woven it stretches out really well, so great for getting over heads if you’re finding your fabric a bit snug. Many stockists sell matching ribs, we have a few colours available online, so check them out when you can.
We hope you’ve enjoyed this tutorial.
