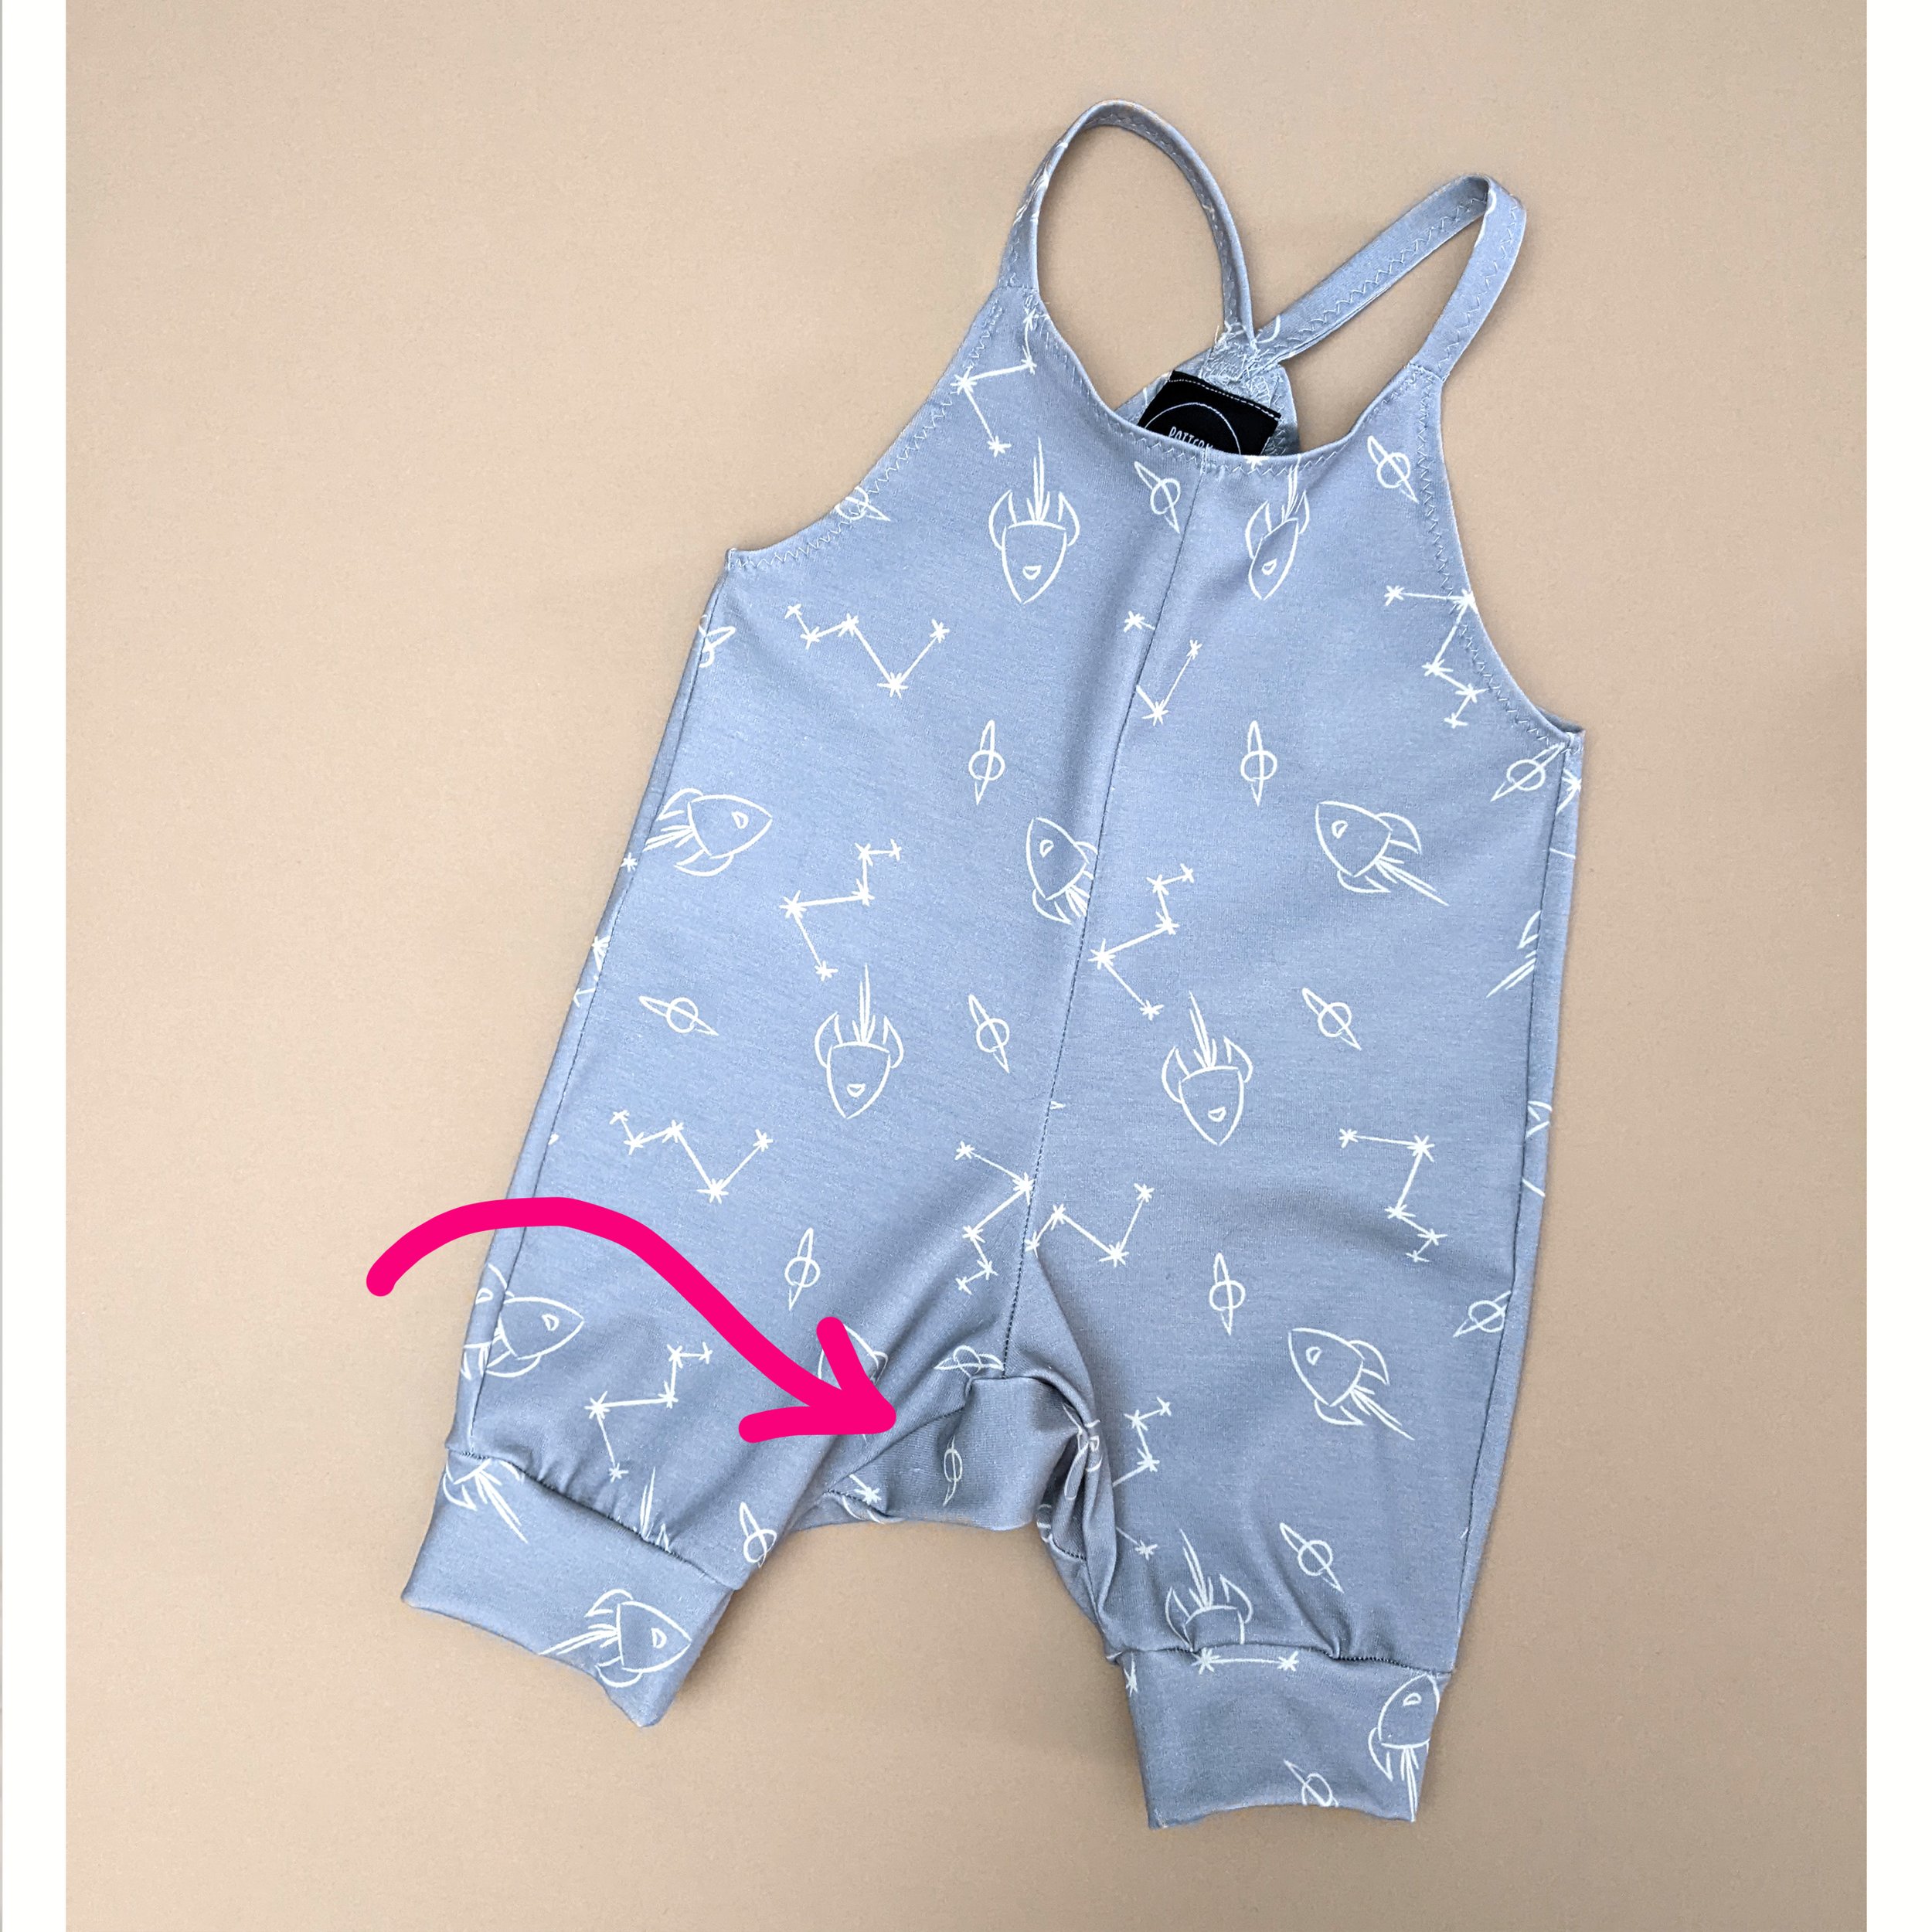
Inserting Gussets!
Our step by step guide to gussets and how easy they are to insert!
Once you’ve watched this you’ll fly through this stage!


Sometimes we come across a detail that feels like too much trouble or you find you end up unpicking and then losing heart, but this little tutorial will help mean the gussets aren’t one of those problems!
Next time you’re planning that make with a gusset take a read though in preparation, and then fly through this stage with ease.

So, or shall I say “Sew”. First thing first using your instructions you will have cut out all your pieces and have sewn the front pieces together and the back pieces together.
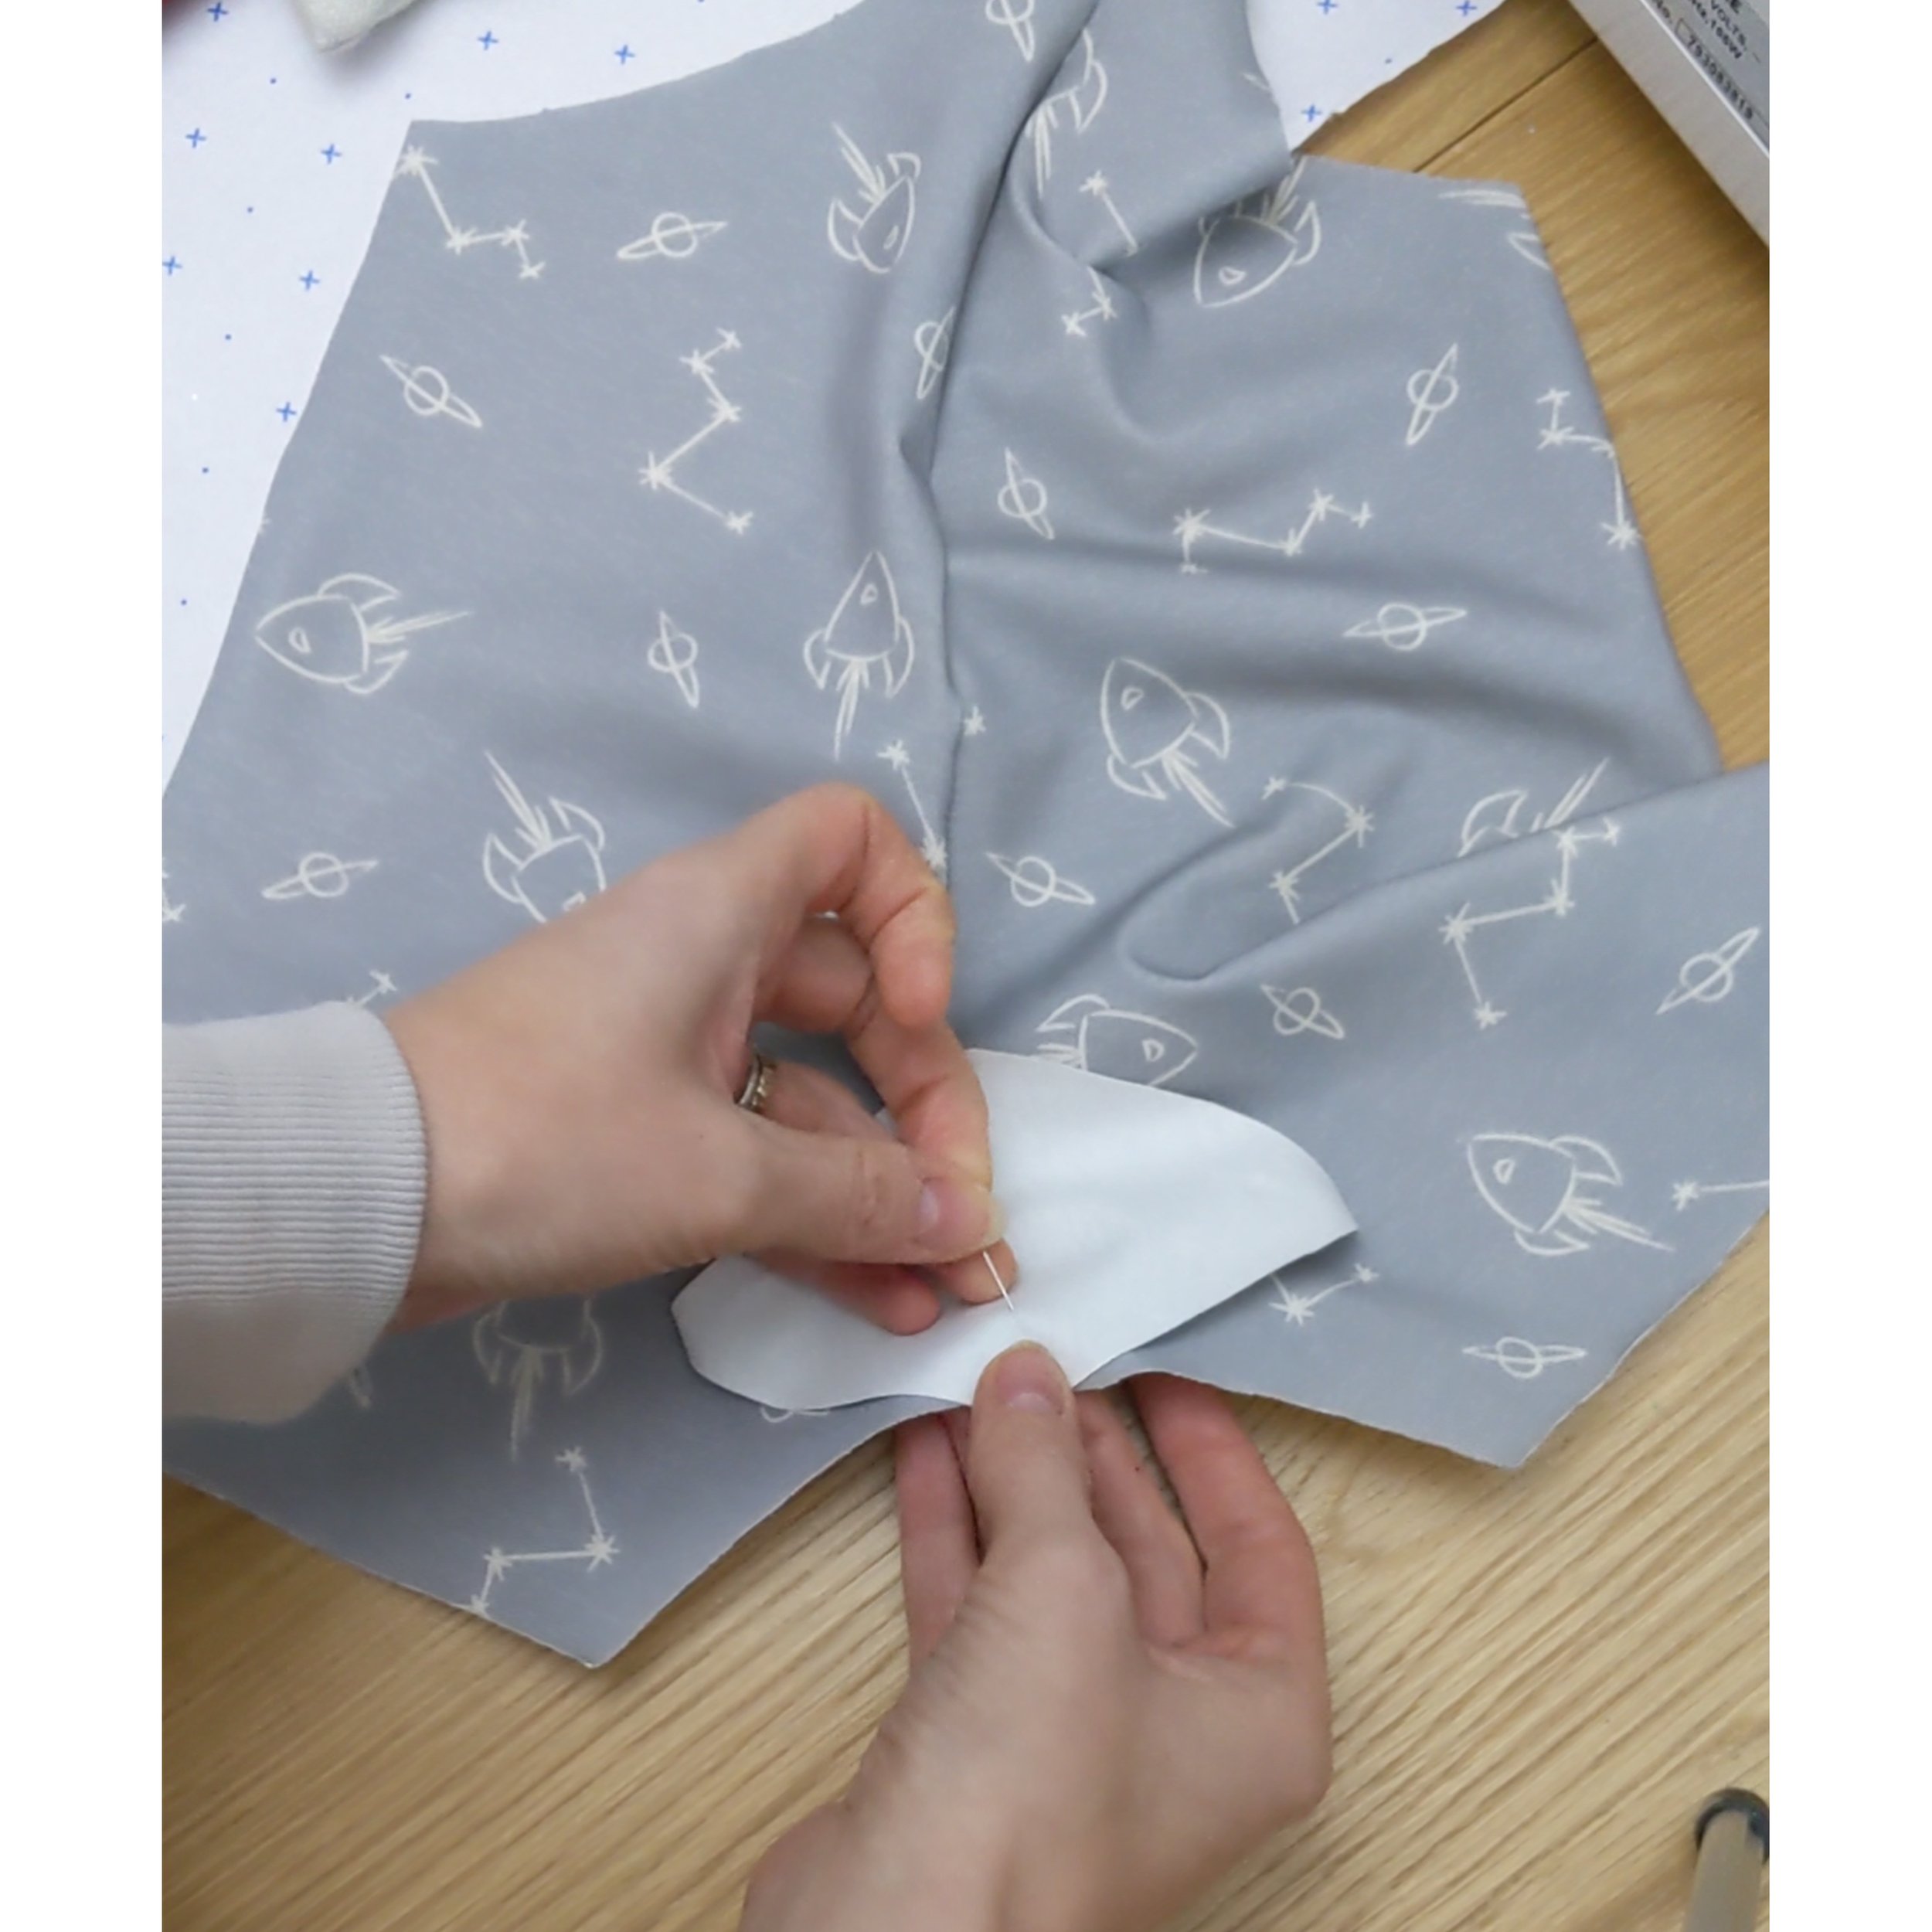
Take your back panel and your gusset piece and pin together at the center back seam (right sides facing)

Following on from that you can then manipulate the gusset around to the inside leg and pin again at the notch point, one side at a time.


Again manipulate around to the other inside leg and pin at the notch, and now you’re ready to sew this seam.
Gently start sewing with the gusset facing upwards.
Notice here the curved line that you can create as you sew. This helps the gusset lie nicely once finished.
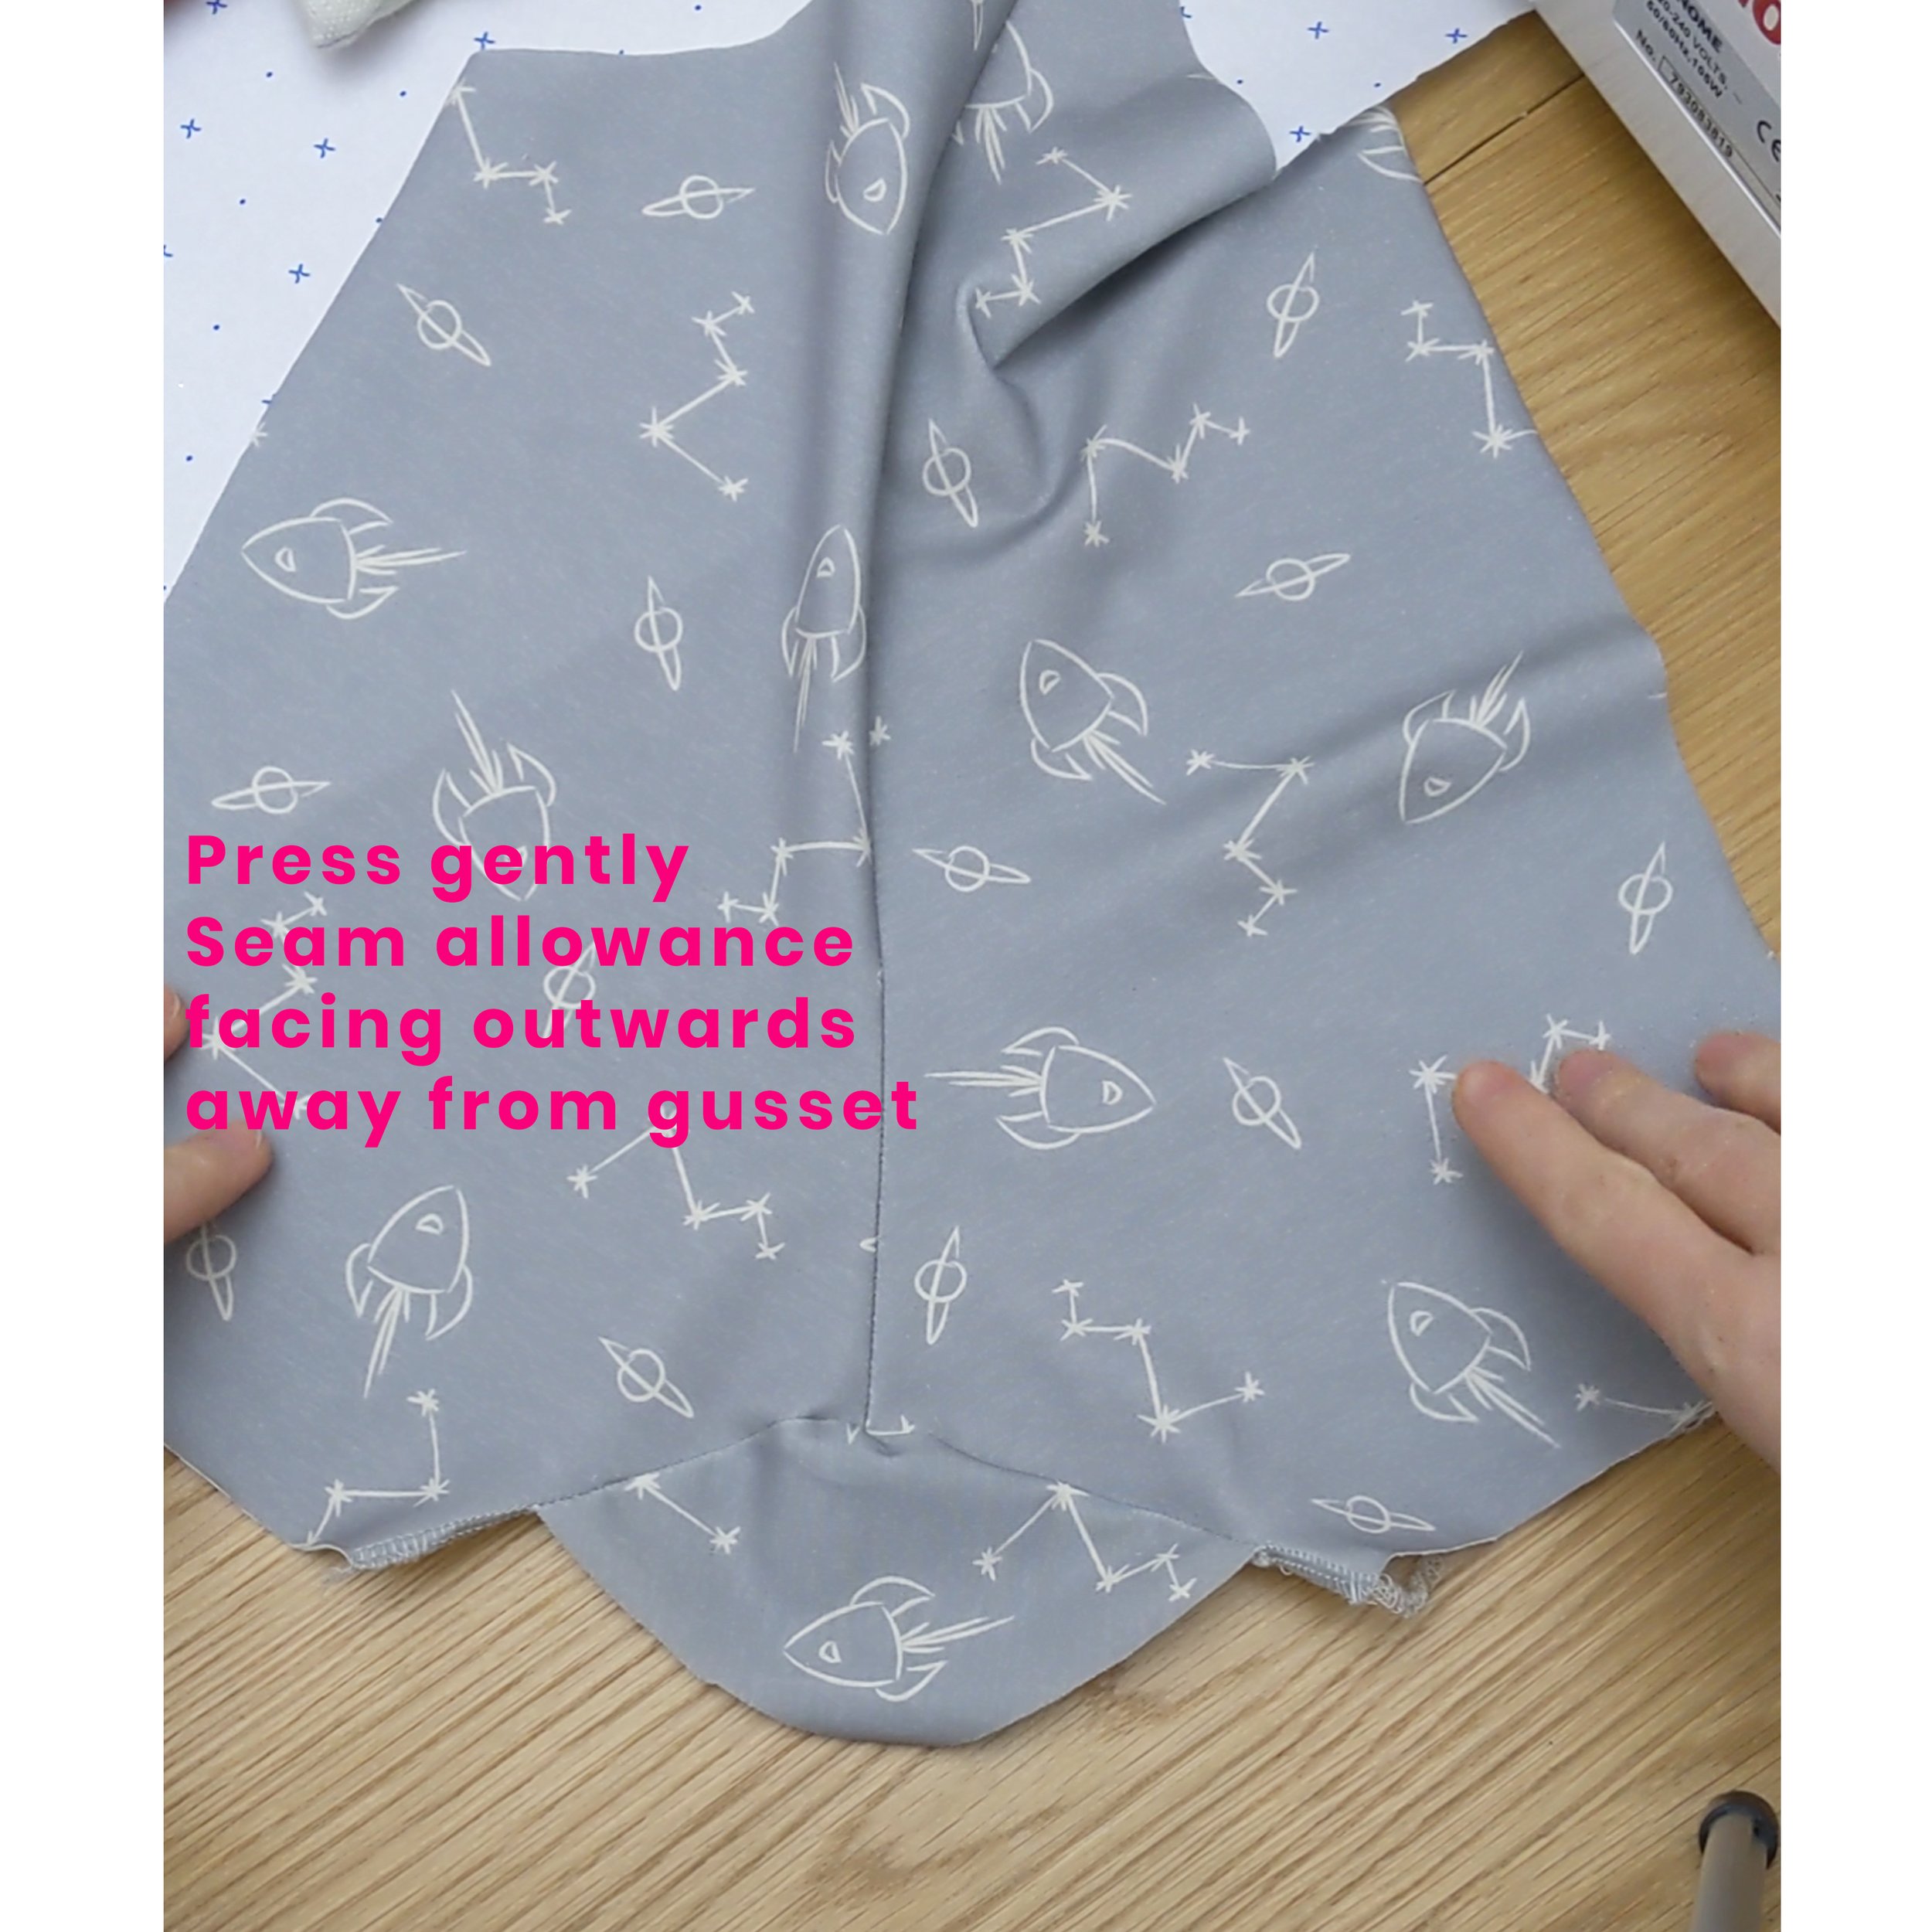


Press gusset seams outwards to the front panel.
Now you can attach the front panel piece & gusset to the back at the inside legs.
Matching notches pin the gusset point at the center front seam.


Line up the gusset with the inside leg and pin at the gusset notch. Then, manipulate around to the other side and pin other inside leg.
As you sew this seam take care to keep the seam (of the front panel & gusset) in line with the back panel, as shown.
Keep that gentle curve as you sew this seam.
And you’ve done it!


Gently press the gusset seams outwards to the front and back panels. Go easy but make sure you do this point! It’s integral to making the garment look professional!
Whopp whoooppp! They you go! One perfectly formed gusset worthy of ANY playtime!